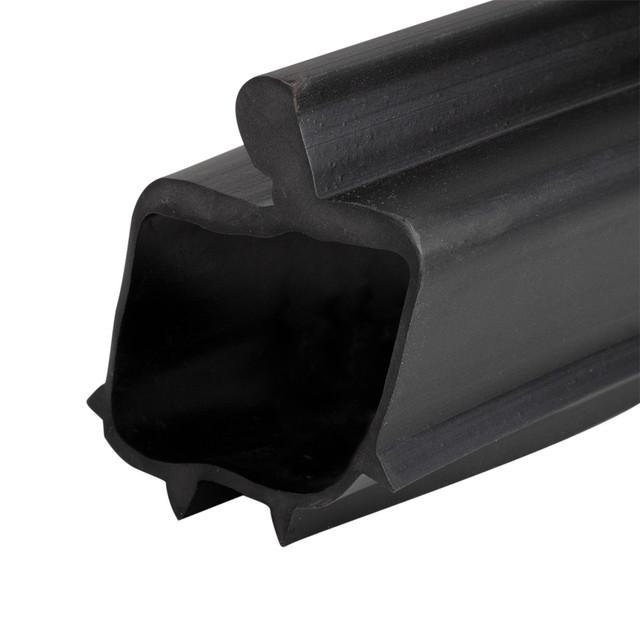
How to Install a Garage Door Weather Seal?
Posted by Charlene Pepiot on 6th Sep 2023
If the weather seal (aka bottom seal or weatherstripping) on your garage door is cracking or not making a tight seal to the ground, it's time to replace it. Our team of experts have been in the business for decades, and below you’ll find an easy DIY garage door guide for installing a bottom seal on your garage door as well as replacing the seal’s retainer, if necessary.
Why Should You Replace or Install a Weather Seal?
If you’ve ever felt air blowing through the cracks in a shut door, you know being closed does not equal being sealed. Weather seals act as a protective sealant from the garage door to the garage floor and block harmful pests, debris, and hot and cold air from leaking into a building. Installing seals can lower unnecessary utility bills with their insulation and help keep your space clean from unwanted visitors and dirt.
What to Know Before Installing a Garage Door Weather Seal?
Should You Replace Your Retainer?
Before installing your new seal, decide if you also need to replace your retainer. The retainer is the metal strip on the bottom of the garage door that has a track for the weather seal. If the track is rusty, coming apart from the door, or not sealing properly, we suggest replacing it while adding a new weather seal for less hassle.
Tip: If you’re replacing your retainer, our Universal Weather Seal Kits have everything needed for installation, and the seal is guaranteed to fit the included retainer.
Decide Which Seal Style You Need
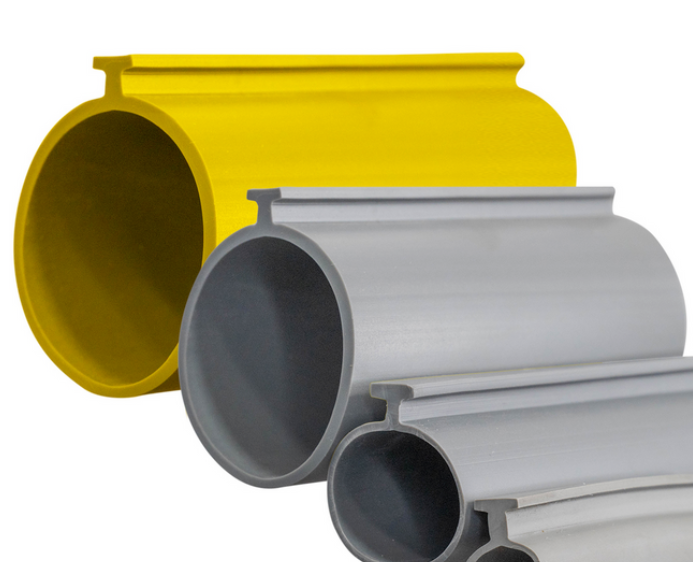
When buying a replacement weather seal, you’ll need to know the length of the seal, the width, and the “style.” Measure the width of the garage door to find your seal length. Don’t rely on the length of the existing seal in case it has shrunk. Lie the existing seal flat and measure the width. Look at the top of the seal, where the edges go into the retainer. This is your “style” of seal. See below for identification:
| The T-shaped style is most common seal, with the tops being “T” shaped. For T-style seals, you’ll need to measure the top end of the “T” and order the same size |
|
| P-bulb seals are shaped like a "P" and made from a black vinyl compound for strength and durability |
|
| Bead End Weather Seals are easy to install and built to be durable |
|
Note: The style of seal is what allows it to fit in the track. If the top of the seal doesn't match the aluminum retainer, you won't be able to complete the job. For bottom weather seal replacement, we recommend buying EPDM, not vinyl seals. Learn more about choosing the right material here!
What Do You Need to Replace Your Garage Door Weather Seal?
Before installation, be sure you have the following materials at your disposal:
- New garage door weather seal
- Optional new retainer and self-tapping screws
- Socket wrench or screwdriver (for removing retainer track)
- Bucket of warm water
- Tape measure
- Rag Concentrated dish soap (like Dawn®)
- Strong scissors
- Extra person
How to Replace Your Old Garage Door Weather Seal?
Make the most of your home repairs by referring to our step-by-step tutorial and full video below to get your new bottom seal installed in no time!
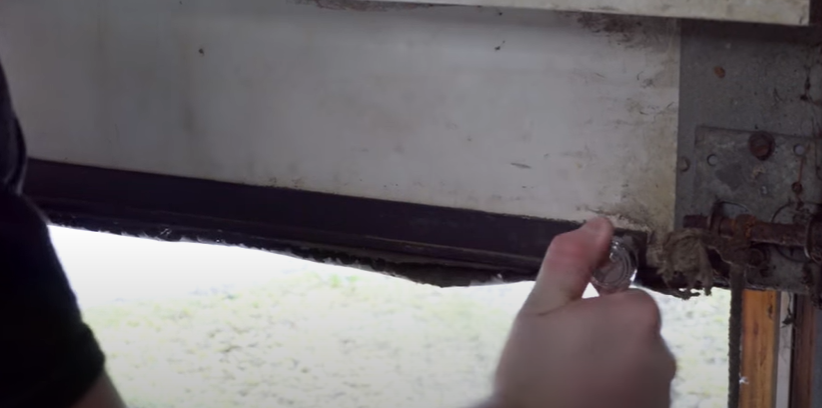
| To begin, lift your door and remove the retainer from the bottom of your garage door by using the socket wrench or screwdriver. Remove the old rubber seal by pulling it through the track. |
|
| Remove the old rubber seal by pulling it through the track. |

|
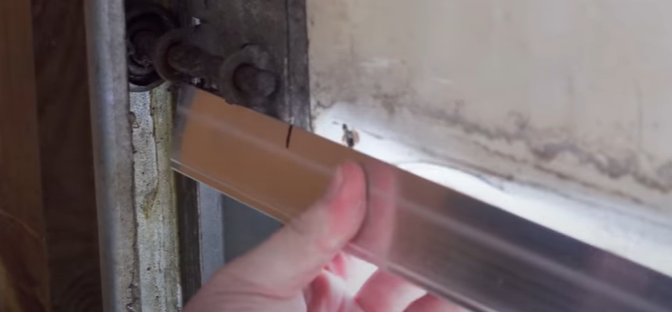
| If installing a new retainer, cut it to size. Measure the length of your door before cutting the retainer. Also mark and cut off the edge of the retainer for a proper fit installation. The retainer can be cut with a hacksaw and we recommend filing the edges to reduce sharp corners on the retainer. |
 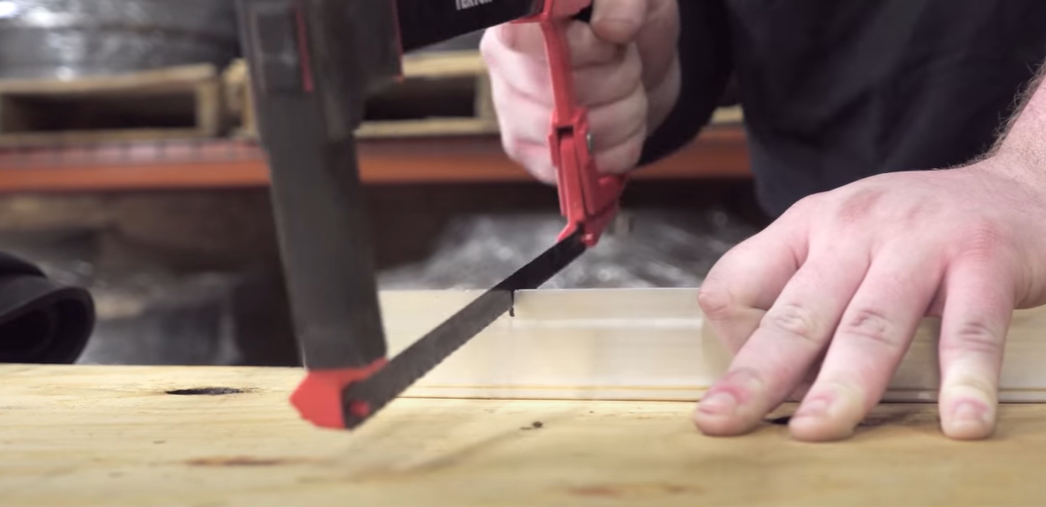
|
| Wash the retainer track with a rag and soapy water to remove residue, if present. Don't skip this step! It will help when it's time to install the new garage door weatherstripping. |
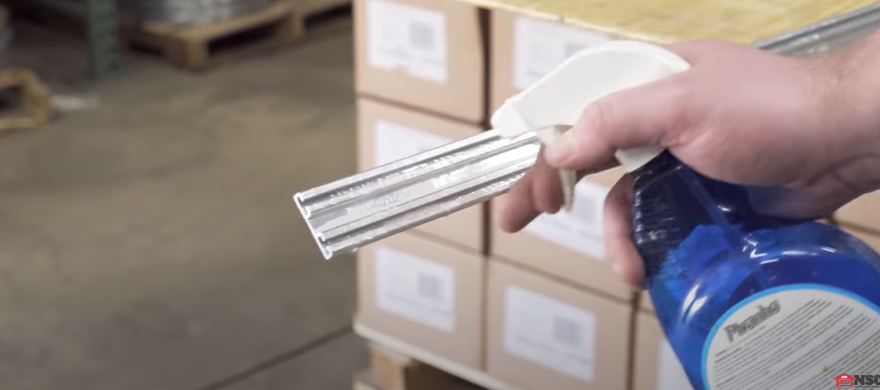
|
| Squeeze a small amount of dish soap in the retainer track to lubricate it. Then, feed the weather seal into the track (ridges of the seal facing outward) while the other person pulls it down the retainer. |
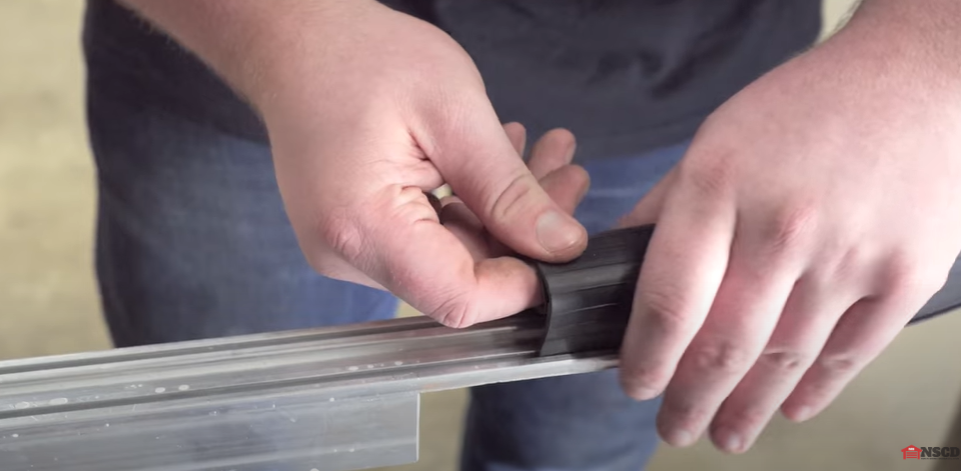
|
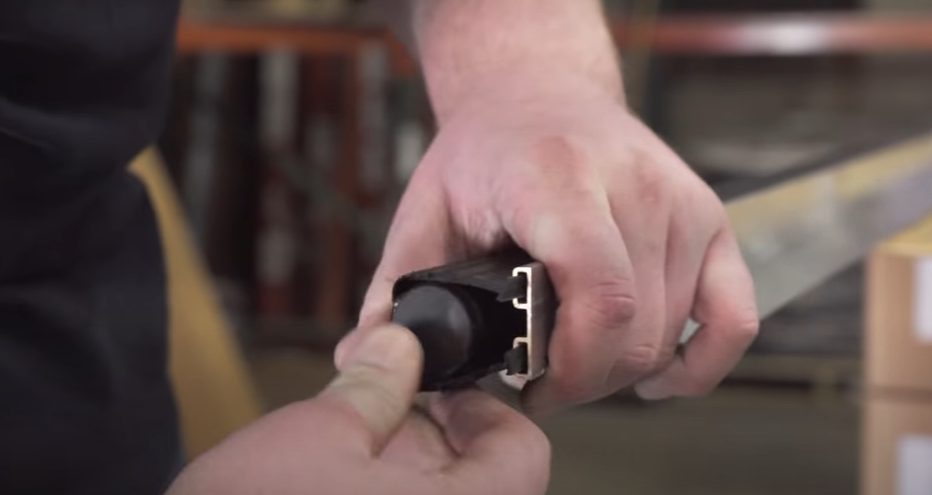
| Cut off the excess rubber of the seal with scissors. If there are caps for the weather seal, put them on the ends. |
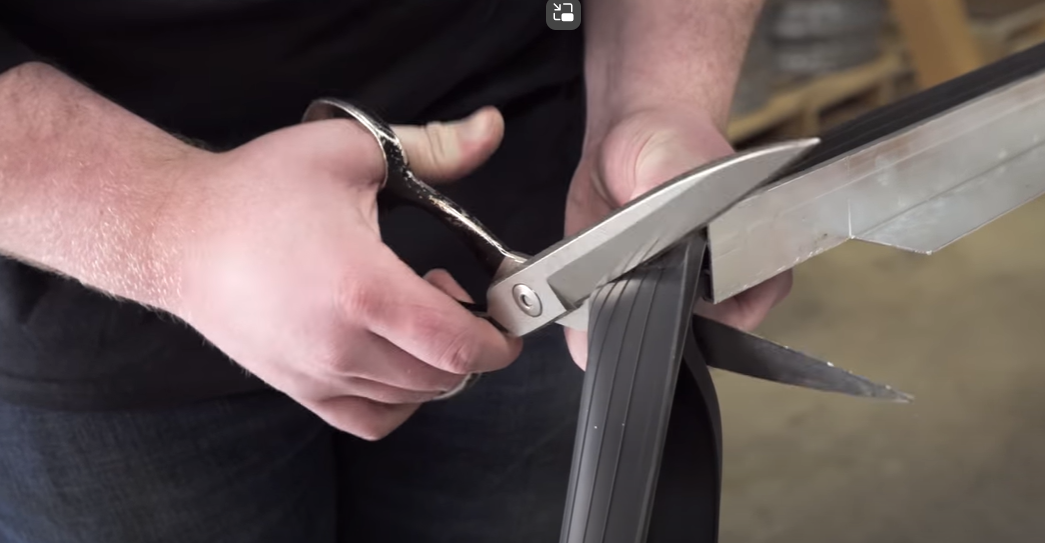 
|
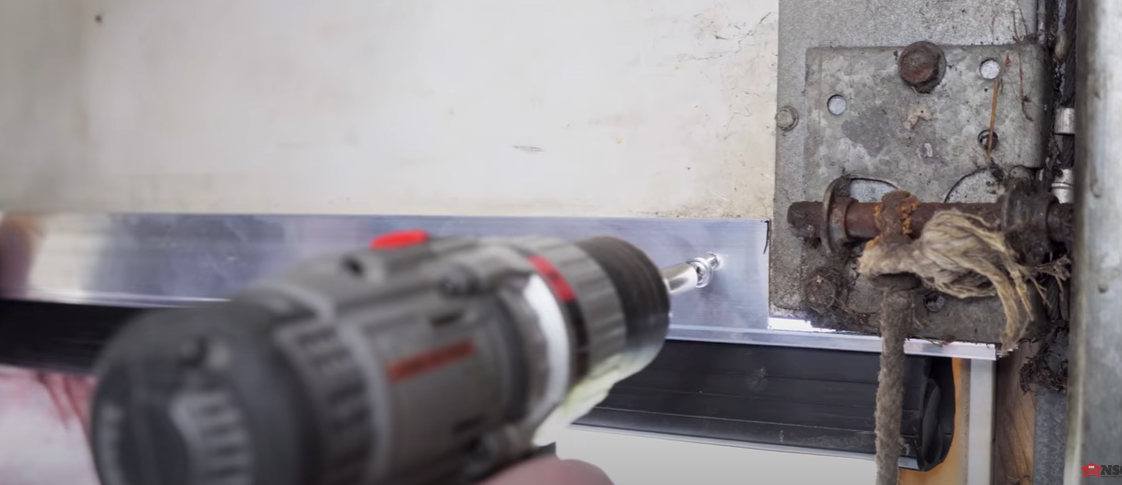
| To secure the retainer to the door using self-tapping screws, apply the screws on each end of the retainer and every foot in between the retainer. Use a power drill to keep them in place. |
|
There you have it! A new weather seal to keep out rodents, drafts, and dust. Nice job!
Where To Find the Right Weather Seal?
North Shore offers a wide variety of brush seals and vinyl seals alike to provide the protection you depend on. Our handy seal kits contain all parts needed for installation to make your DIY home improvement or commercial installations easy!
How Long Do Weather Seals Last?
The life expectancy of a weather seal depends on outside conditions and its material, but five years is generally a good estimate. To prolong a seal’s life, clean and wipe down the inside of the seals at their contact point with the door roughly once to twice a year.
What are the Best Garage Door Maintenance Practices for Weather Seals?
To ensure your garage maintains full protection against the outdoors, check your seal twice a year for cracks or other signs of wear. Even a small fissure will allow debris and the elements to infiltrate your garage, so it is best to replace the seal as soon as you notice any damage. With North Shore’s variety of seals and retainers, you can save money and only replace the seal while keeping the same retainer!
Go Further with North Shore!
Still curious about the benefits and variety of weather seals we offer? Read up on the Best Garage Door Seals for Extreme Weather, Uneven Floors, or Pests.
Need Help?
Please ask! Our in-house experts can help you with your Weather Seal and retainer questions. Get in touch with our support crew at:
- Call: 800-783-6112
- Email: support@northshorecommercialdoor.com

