- Usually Ships Following Business Day
LiftMaster
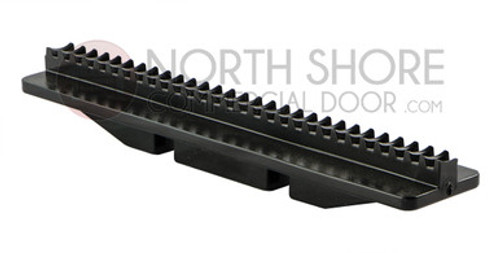
Liftmaster K025C0020 Screw Drive Sprocket Coupler
- Usually Ships Following Business Day
- availability:
- available
Buy our LiftMaster screw drive sprocket coupler at North Shore Commercial Door to replace a bad screw drive coupler on your post-1995 model Chamberlain/LiftMaster screw drive garage door opener. With our inventory of inexpensive replacement parts and installation manuals, you won't have to consider replacing an entire garage door operator when one or two parts fail on your unit.
Product Highlights:
- SKU –K025C0020
- ALT SKUS – 25A20, K025C0020, 025C0020, 25A18
- For post-1995 Chamberlain/LiftMaster screw drive garage door openers
Compatibility:
- LiftMaster 1000SD
- 2000SD
- 1000SDR
- 2000SDR
- 2110
- 2220
- Chamberlain 4600
- 4620
- 4640
- 9902
- PD420
- PD460-2
- 9950
Quick-Replace Sprocket Coupling on a Screw-Drive Operator
You will need:
- Overhead access to the operator
- Socket wrench/ratchet set
- Phillips-head screwdriver
- Flat-head screwdriver
- Adjustable wrench
- 3/8" socket (model # 3130/3240) or 7/16" socket (model #1000SDR/2000SDR)
Steps:
- Disconnect power to your garage door opener
- Remove the nuts and hex screws from the rail power unit bracket with an adjustable wrench and socket (7/16 in. or 3/8 in. in size)
- Detach the rail and slide it backwards on the rail assembly
- Carefully slide the damaged coupling off the rail sprocket, and install the new LiftMaster sprocket coupler
- Align the teeth on the new coupler with the grooves, and reattach the rail/power unit bracket using the old coupler's nuts and hex screws
See our product manuals, or call our expert LiftMaster reps, for additional guidance.


